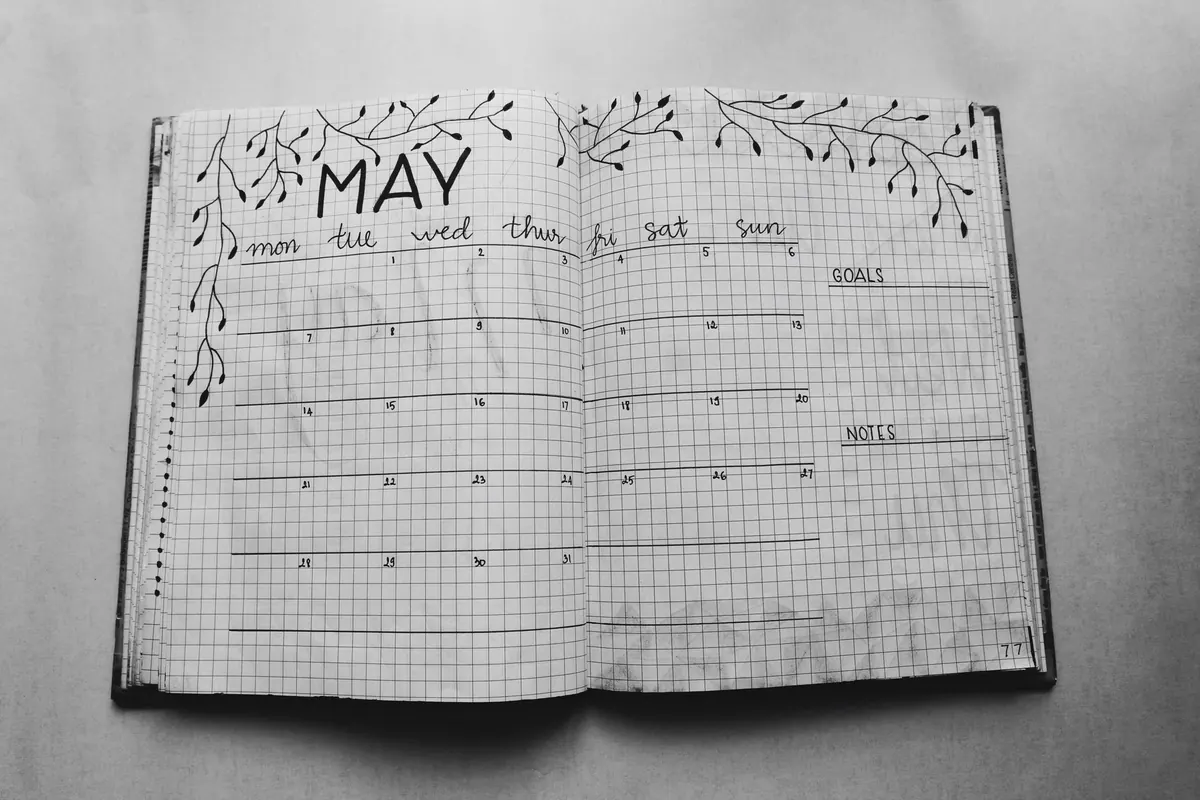
A new year is as good an excuse as any to open a fresh notebook, though a dot-grid page will not mind in the slightest whether you begin on 1 January or a wet Tuesday in March. What matters is that the setup is simple enough to use on a bad day. Most journals fail not because the system was wrong but because it was too elaborate to keep. Here is a straightforward way to set one up, starting with a few pages and a pen you actually enjoy.
Choose a notebook you will not resent carrying
Before you draw a single line, get the notebook right. Everything else is easier afterwards.
- Size: A5 suits most people. It is big enough for a weekly spread and small enough to travel. A4 stays on the desk; A6 fills up too quickly for planning.
- Dot spacing: 5mm is the common standard and works well for both writing and drawing boxes. Wider spacing gives you room but eats pages.
- Paper weight: 80gsm is the minimum. If you use fountain pens, look for 100gsm or above, and check that ink does not bleed through to the other side.
- Practicalities: numbered pages, an elastic closure, a ribbon marker and a pocket at the back all earn their place.
Test the paper with your usual pen before committing to a whole year. A quick scribble on the inside back cover tells you more than any description. If your favourite ink feathers or shows through, you will quietly stop using the journal, and you will blame yourself rather than the paper.
Number the pages and build an index
Reserve the first two or three pages for an index. Rule two columns: page number on the left, subject on the right. The dot grid makes this painless — you can follow the dots instead of measuring.
Then number the pages that follow. If your notebook does not have printed numbers, do it in batches of ten while watching something undemanding. Tedious, but it takes twenty minutes and saves you from hunting for things later.
The index only works if you update it as you go. Every time you start a new spread, add a line. Two seconds now, no frustration in October.
Set up a monthly log
The monthly log is the first spread most people draw, and it is worth keeping to two pages.
Page one: the month at a glance
Write the dates down the left-hand edge, one per line, with the day of the week beside them. Add fixed commitments — birthdays, appointments, travel, deadlines — as they arrive. Leave the right-hand side for anything that comes up. A vertical list beats a hand-drawn grid when you are starting out; drawing thirty little boxes accurately is a chore, and a wonky calendar irritates you all month.
Page two: the month's work
On the facing page, list the handful of things you want to move forward this month. Keep it to five. Not a wish list, not a project plan — five things. Next to each, note the first physical action: not "sort out the spare room" but "measure the alcove". Specific actions get done; vague intentions get copied into the next month forever.
At the end of the month, read back through and decide what carries forward. This habit of migrating tasks is what keeps a journal honest.
Keep weekly and daily spreads light
A simple weekly spread works for most people: the seven days down the left-hand side, a wide column to the right for notes, and a small box at the top for the week's priorities. That is it. Two minutes to draw.
Resist the urge to draw twelve weeks in advance. Pre-drawn spreads feel satisfying for an afternoon and become a liability the first week you fall behind. Draw each week on the Sunday or Monday before you need it, and let the layout change as your needs do. If you prefer daily pages, keep them equally plain: date at the top, tasks on one side, notes underneath.
If a spread takes longer to draw than to fill in, it is decoration, not planning.
Add collections once the basics are working
Once the index, monthly log and weekly spreads are running, add pages for the things you keep needing. These live at the back or wherever there is space, and each one gets an index entry.
- A habit tracker with a simple grid: habits down the side, dates across the top.
- A reading log for books started and finished.
- A pen and ink log — which pens are inked, with what, and how the combination behaves on different papers.
- A project page for anything with more than three steps.
- A brain dump page for stray thoughts, so they stop interrupting the actual planning.
None of these need to be beautiful. A heading, a few columns and a ruler line will do.
Make it survive past February
Two things kill journals: perfectionism and guilt. If you miss a week, do not backfill it. Leave the gap, turn to today and carry on. If a spread did not work, abandon it and draw a different one.
A short weekly review helps more than any elaborate system — ten minutes on a Sunday with a cup of tea, checking what happened, what is coming and what needs moving. Keep the journal near where you actually sit. A notebook in a drawer is a notebook you will forget.
Setting up tonight
- Choose your notebook and test it with your regular pen.
- Number the pages and rule an index on the first two.
- Draw the current month's calendar page and task page.
- Draw one weekly spread for the week ahead — no more.
- Write the date and one thing you intend to do tomorrow.
That is a working journal. Everything else you add later, when you notice you need it.
Photo: Bich Tran / Pexels